
Do you think building a gaming PC is too technical? Think again. Picture it as following a simple recipe that delivers great gaming performance. In this guide, we break down the process step by step, from choosing a stylish case to setting up your BIOS (the computer’s basic system settings) and installing your operating system. We use everyday language to explain each step so you can build a PC that powers your favorite games and looks good doing it. Ready to turn your tech dreams into reality? Keep reading to learn how to build a gaming PC that truly impresses.
Step-by-Step Guide to How to Build a Gaming PC
Building a gaming PC works best when you break the job into small, clear steps that anyone can follow. We start with careful planning and choosing trustworthy parts. This guide covers everything from picking a case that fits your style to setting up your BIOS and operating system. Think of each step like following a favorite recipe.
This guide is perfect for newcomers to PC assembly. We use clear, everyday language with tips that are in line with 2024 hardware advice. For example, choosing the right memory can be like giving your system a quick energy boost before a game starts. Such practical tips are sprinkled throughout the guide.
Here’s the main roadmap for your build:
- Pick a case that provides good airflow and can fit a large graphics card.
- Select a motherboard with the proper socket and enough expansion slots for your CPU, whether it’s an Intel Core 11th-13th Gen or an AMD Ryzen 5000-7000 series processor.
- Install your CPU along with a compatible cooling solution to keep temperatures in check.
- Add memory kits (DDR4 or DDR5) that support features like Intel XMP or AMD EXPO for easy overclocking.
- Install at least one M.2 NVMe SSD to speed up boot and load times.
- Choose a power supply (PSU) with the right wattage using online calculators for guidance.
- Finally, add a dedicated graphics card for smooth gaming, tidy up your cables, and finish by setting up the BIOS before installing your operating system.
Selecting Components for Your Gaming PC
When building your gaming PC, it's smart to go beyond just picking basic parts. Start by ensuring your motherboard has the right socket and solid VRMs (voltage regulator modules) for steady power, especially if you plan to overclock. Also, don't settle for just any cooling method. Instead of basic air or liquid coolers, consider boosting your system's airflow with options like Corsair SP120 RGB Elite fans.
Remember, every choice can improve your computer's performance and longevity. Use this step-by-step approach to refine your build:
- PC Case: Choose a design that boosts airflow and offers extra room for high-end GPUs.
- Motherboard: Look for models with robust VRMs and extra features to support stable overclocking.
- CPU: Make sure it's compatible with your system and note that powerful processors require efficient cooling.
- Memory: Opt for kits known for reliable overclocking and stability under heavy loads.
- Storage: Pick an M.2 NVMe SSD that supports PCIe 4.0 for fast loading times.
- PSU: Select a power supply with extra capacity for power spikes and modular cabling to keep your build neat.
- GPU: Verify that the graphics card's cooling system and VRAM can handle demanding games.
- Cooling: Enhance your build with extra case fans or advanced liquid cooling systems to maintain optimal temperatures.
Budget Planning for Building a Gaming PC

Before you start choosing parts, set a clear budget. Pick a tier like $500, $800, $1,000, $1,500, or over $2,000. This helps you understand what kind of performance you can expect and shows you how to spend on key components such as the CPU, GPU, memory, and storage. For example, a $500 build might focus on a budget-friendly processor for basic gaming, while a high-end build puts more money into a strong graphics card. Online calculators can also help you confirm the necessary PSU wattage and final cost.
| Budget Tier | CPU | GPU | RAM | Storage | Estimated Cost |
|---|---|---|---|---|---|
| $500 | Entry-level (e.g., Ryzen 3 or Core i3) | Integrated or low-tier discrete | 8GB | 240GB SSD | $500 |
| $800 | Basic mid-range (e.g., Ryzen 3/5 variants) | Discrete entry (e.g., GTX 1650) | 8GB | 500GB SSD | $800 |
| $1,000 | Mid-tier (e.g., Ryzen 5) | Starter gaming (e.g., RTX 3050) | 16GB | 500GB SSD | $1,000 |
| $1,500 | Solid mid-range (e.g., Intel i5 or Ryzen 5) | Enhanced performance (e.g., RTX 3060 Ti) | 16GB | 1TB SSD | $1,500 |
| $2,000+ | High-performance (e.g., Intel i7 or Ryzen 7) | High-end card (e.g., RTX 4070 Ti) | 16–32GB | 1TB NVMe SSD | $2,100+ |
Keep an eye out for seasonal discounts and trusted coupon codes from major retailers to lower costs. Using refurbished or previous-generation components can also help stretch your budget. Before you buy, use online cost calculators and PSU wattage tools to make sure you build a system that fits your gaming needs without overspending.
Compatibility Checks for a Smooth Gaming PC Build
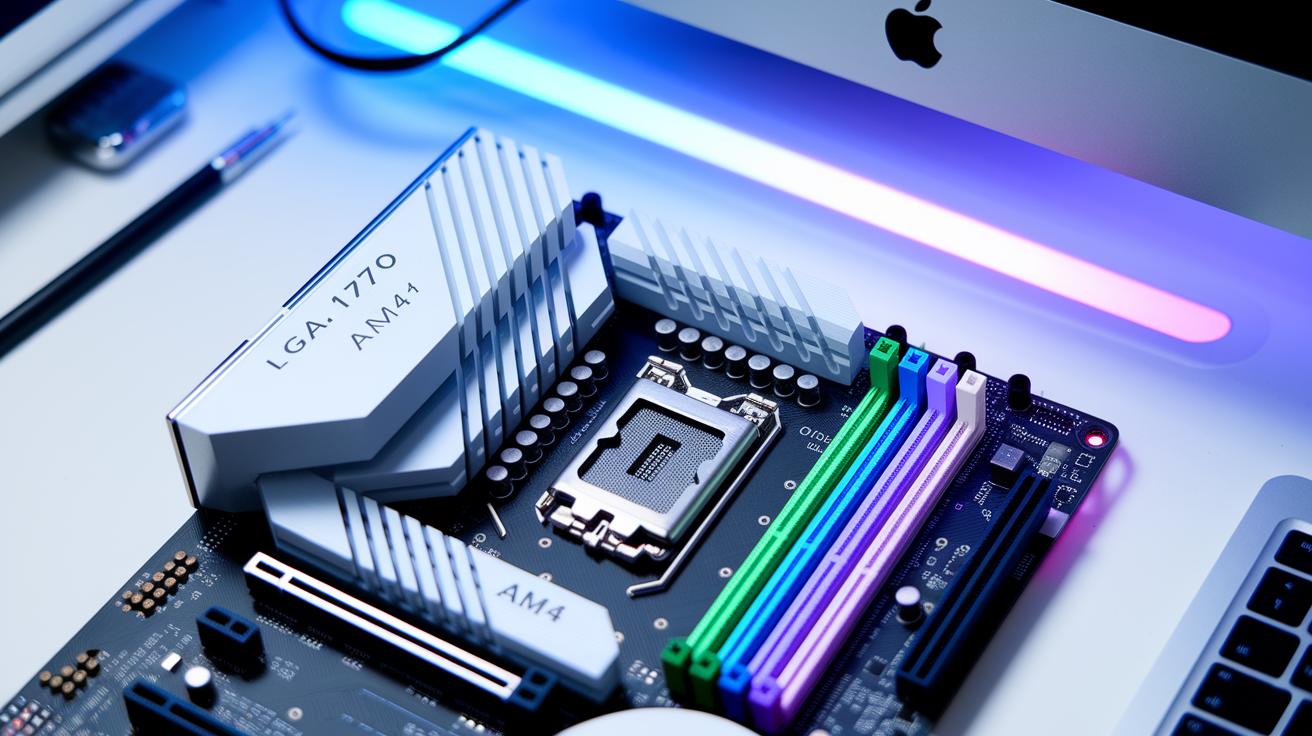
When picking a motherboard, start by checking that it meets your CPU needs. Make sure the CPU socket (for example, Intel LGA1700 or AMD AM4) matches your processor. Also, verify the board supports your CPU's TDP (the heat output that your cooler needs to dissipate) so your cooling solution fits properly. A mismatch here can hurt both cooling and overall performance.
Next, review your memory and storage setup. Confirm that the board works with the type and speed of RAM you want, whether it's DDR4 or DDR5, and supports the capacity you need. If you prefer a fast NVMe SSD over traditional SATA drives, check that the correct slots are available to support high-capacity options.
Finally, look at how your case, power supply (PSU), and cooling parts align. Ensure your GPU fits well within your chassis and that the PSU provides the proper PCIe power connectors. Also, make sure there's enough space around the CPU area for coolers and radiators.
Following these steps makes your build process smoother and helps avoid issues later on.
Essential Tools and Preparation for Your Gaming PC Build
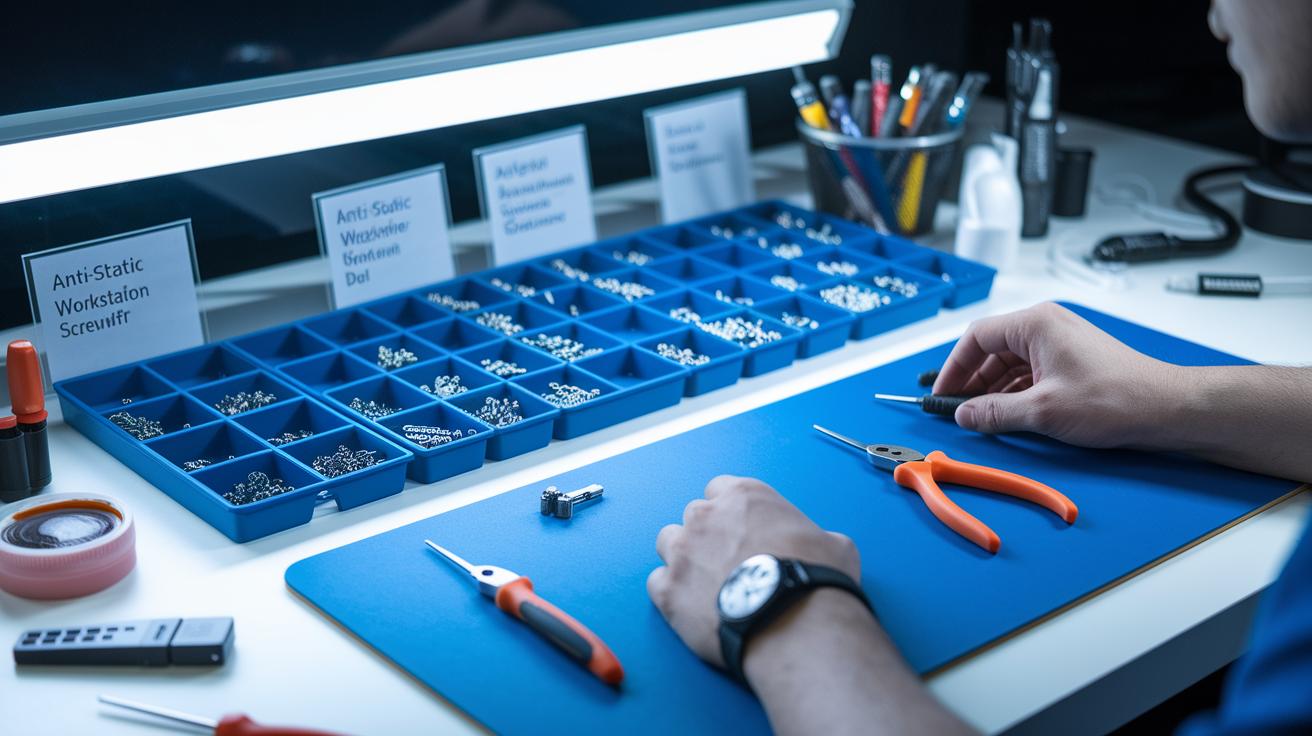
Before you begin your build, gather the key tools you'll need: a Phillips-head screwdriver, anti-static wrist strap, needle-nose pliers, cable ties, thermal paste, and a USB flash drive. Handle each part by its edges and always ground yourself (this means touching a metal part to avoid static electricity damage). Arrange screws and standoffs in clearly marked trays, imagine sorting them into little bowls so you never lose track of a piece.
Set up your workspace with plenty of light and room to move. A clean, clutter-free area helps you work safely and efficiently. Also, download your operating system installers and driver packages ahead of time. This simple step speeds up the build and cuts down on mistakes during assembly.
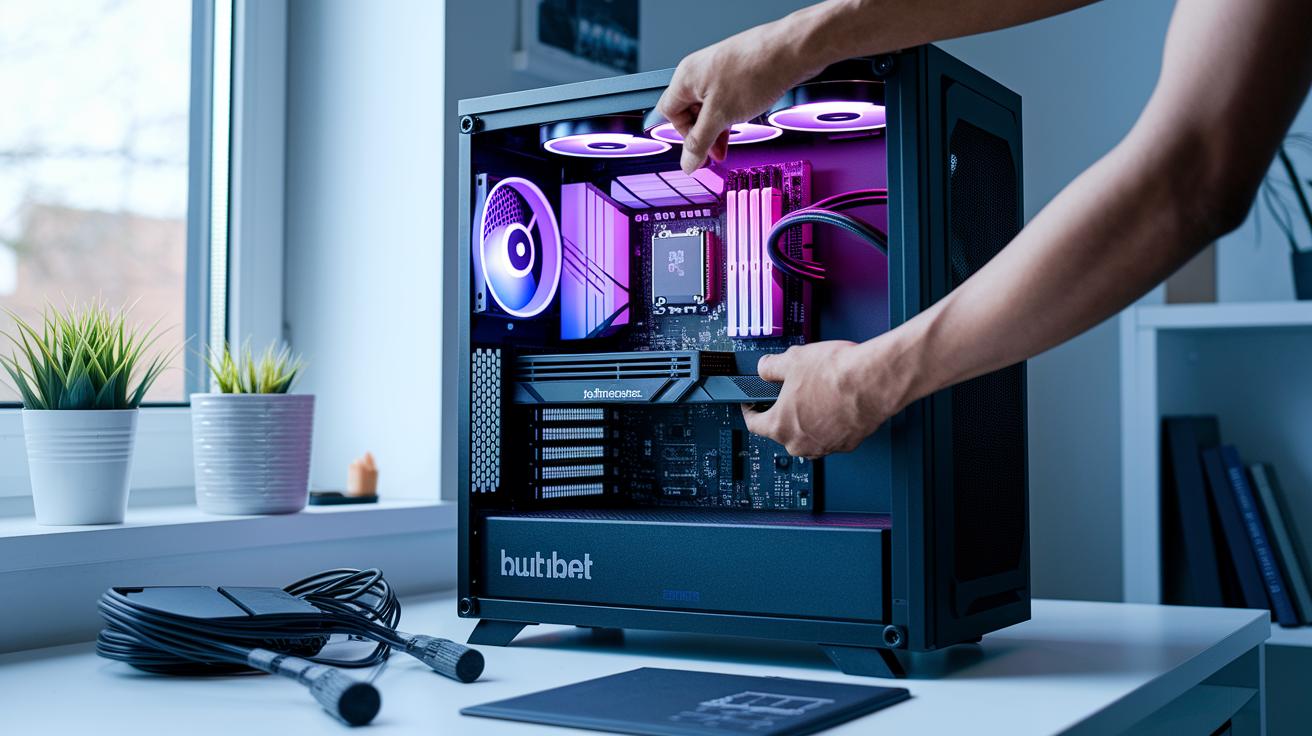
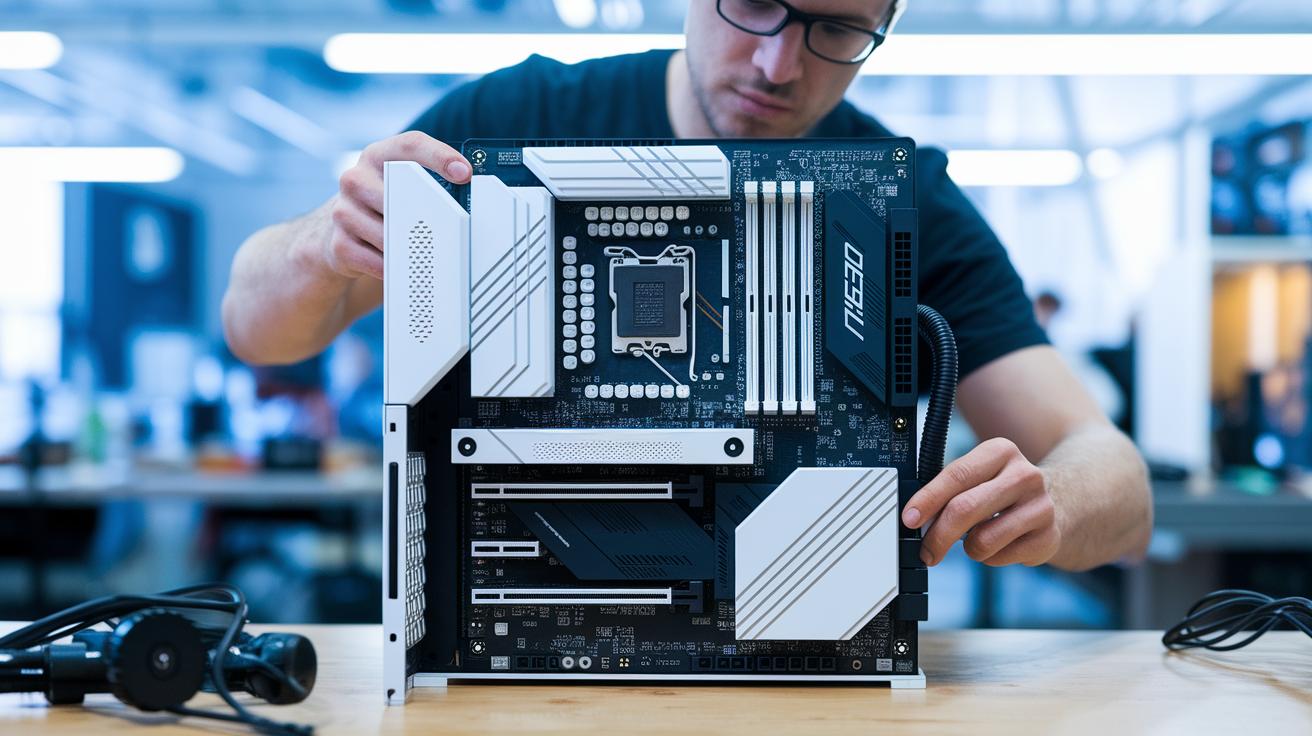
Building and Cable Management in Your Gaming PC Assembly
Start by gathering all your parts and laying them out for a step-by-step build. This preparation helps you put each component in the right place so your system runs smoothly. A clear checklist keeps small mistakes at bay and ensures everything fits together properly.
As you build, keep things organized and take your time with every connection. For example, make sure the motherboard is firmly set on its standoffs and that RAM modules are inserted correctly. A steady pace helps you avoid issues later on.
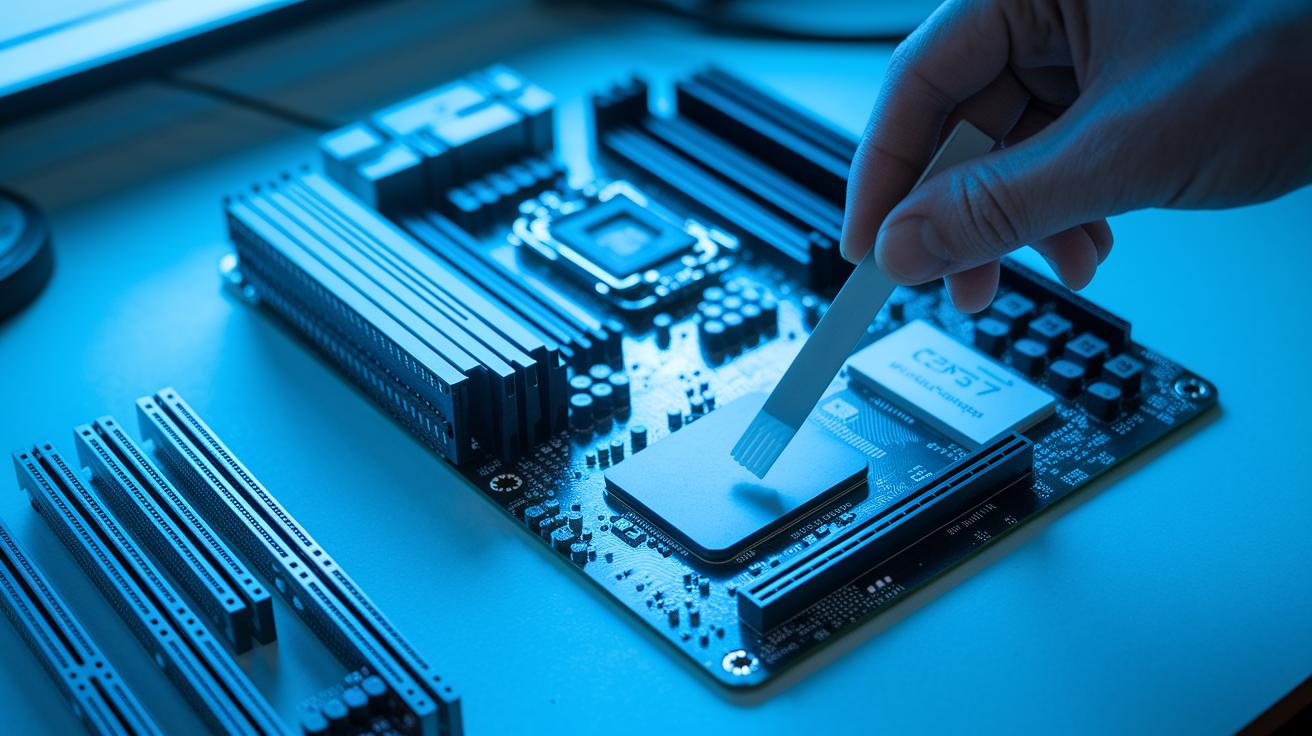
- Install the CPU (the central processing unit, which is the computer's brain) and apply thermal paste.
- Mount the CPU cooler.
- Place the motherboard onto its standoffs.
- Insert the RAM modules.
- Install the M.2 SSD (a compact, fast storage drive).
- Set up the PSU (power supply unit) and route its cables.
- Install other storage drives.
- Insert the GPU (graphics processing unit) into the PCIe slot.
- Connect the case fans and front-panel headers.
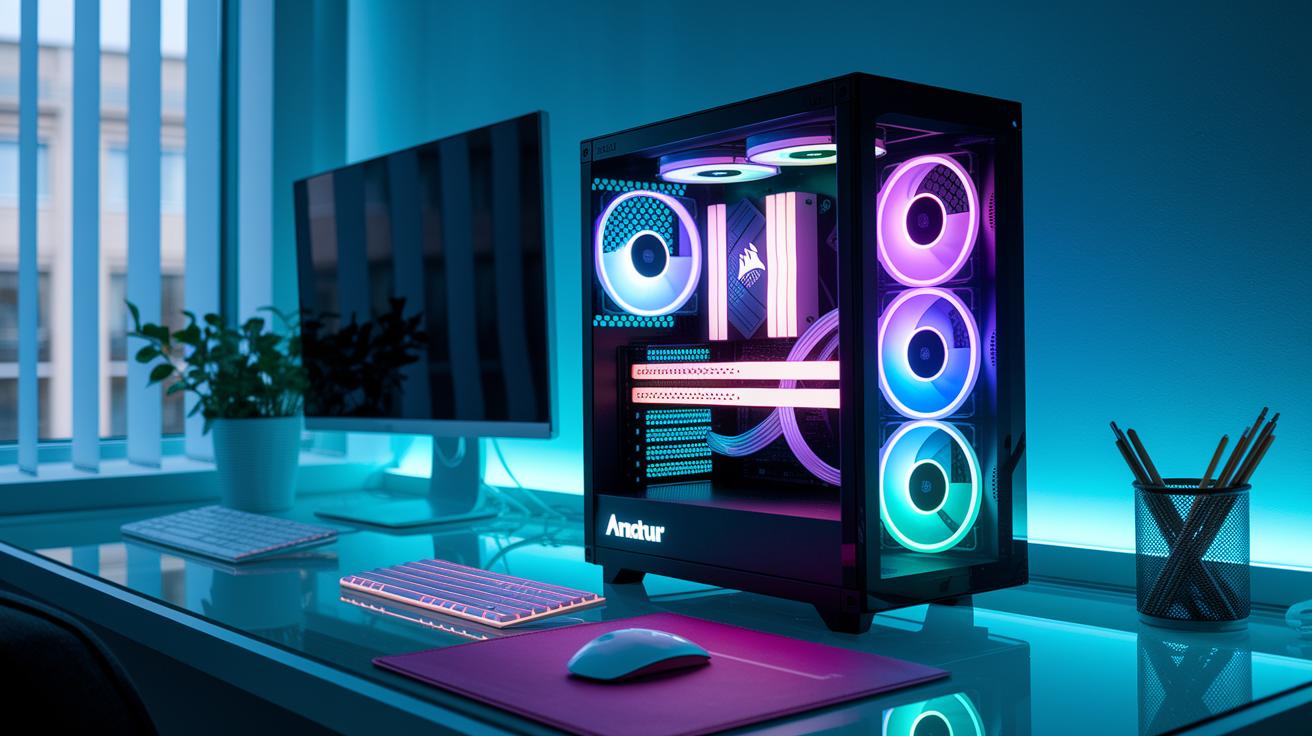
Once all parts are in place, effective cable management is key. Run cables behind the motherboard tray and secure them with ties to create neat channels that improve airflow. This tidy setup not only cuts down on clutter but also makes future upgrades simpler. For added style and cooling, consider extra RGB fans that boost both airflow and lighting. Finally, reattach the side panels and test the front-panel ports to ensure your build is solid and well-organized.
Operating System and Driver Setup for Your Gaming PC
Once you have put your PC components together, turn on the system and immediately enter BIOS/UEFI to check that all hardware is detected. Set your USB drive as the primary boot device and enable features like XMP or EXPO (special memory profiles that boost performance). This step makes sure your motherboard sees every connected part and that your memory runs at the speed it’s rated for, setting you up for a hassle-free installation.
Next, boot from the USB drive to install Windows 10 or 11. During installation, create and format any partitions you need. After the operating system is up and running, download and install official drivers for your motherboard chipset, GPU, audio, and network. Using tools like Intel Driver & Support Assistant or AMD Radeon Software can help keep these drivers up to date, ensuring your gaming PC stays reliable over time.
Testing, Benchmarking, and Troubleshooting Your Gaming PC Build
We begin by running basic benchmarks that check your system's performance. We use tools like 3DMark (which tests your graphics card's skills), Cinebench R23 (to push your processor), and PCMark 10 (to score overall performance). For example, a solid run on 3DMark might show faster game load times, confirming your build meets performance expectations.
Next, we monitor your system's temperature. Programs such as HWMonitor or MSI Afterburner help you track heat levels during heavy tasks. We aim for CPU temperatures below 80 °C and GPU temperatures under 85 °C. Think of it like playing a long, intense game while knowing your system stays cool and steady.
If you encounter issues, then it’s time to troubleshoot. Common problems include no POST (power-on self-test), RAM or GPU beep codes, boot loops due to an outdated BIOS, or driver conflicts. First, check your PSU voltages and ensure all cables are securely connected. If problems persist, try booting into safe mode or using recovery options to reset any problematic drivers and settings.
Future-Proofing and Upgrades for Your Custom Gaming PC
When planning your build, choose a motherboard that goes beyond just your current needs. For example, get a board with four DIMM slots so you can add more RAM later. Make sure it offers extra M.2 slots and supports PCIe 5.0 (a new standard for faster connections) for future storage devices and peripherals. We also recommend picking a power supply that provides 20-30% extra wattage compared to what you need now. A modular PSU is a smart choice because it lets you swap or add cables as your system grows.
Don't forget about the case. Select one that has plenty of space for longer GPUs and extra room for radiator mounts. This makes it easier to add more fans or upgrade your cooling solutions later. With a case that has a modular design and flexible cooling options, your gaming setup can evolve alongside new components, keeping it ready for tomorrow’s challenges.
Final Words
In the action, we covered everything you need to know for a successful build. We moved from component selection and budget planning to assembly, cable management, and setting up your operating system and drivers.
We also shared key tips on testing, benchmarking, and future upgrades. If you're curious about how to build a gaming pc that fits your needs and budget, you now have a clear roadmap to follow. Enjoy the process and build with confidence!
FAQ
Q: How much does it cost to build a gaming PC?
A: The cost to build a gaming PC depends on chosen parts and deals. You can spend around $500 for a budget rig or over $2,000 for high-end components, with most builds falling between these ranges.
Q: How do I build a gaming PC step by step, including building from scratch, on a budget, or with current 2025 guidance?
A: The step-by-step process involves selecting components, assembling hardware, installing an operating system, and testing performance. Beginners should plan their budget, follow detailed guides, and adapt the process for current part trends.
Q: What parts are needed to build a gaming PC?
A: Building a gaming PC requires a case, motherboard, CPU, memory, storage, power supply, GPU, and cooling solutions. These components must work together to ensure smooth and reliable performance.
Q: Is it cheaper to buy or build a gaming computer?
A: The cost-effectiveness of building versus buying depends on your needs. Custom builds may save money through parts deals and upgrades, while pre-built systems often come with warranties and streamlined support.
Q: How hard is it to build your own gaming PC?
A: Building your own gaming PC is manageable with clear instructions and basic tools. While there is a learning curve for first-timers, many guides and community resources can help make the process straightforward.
